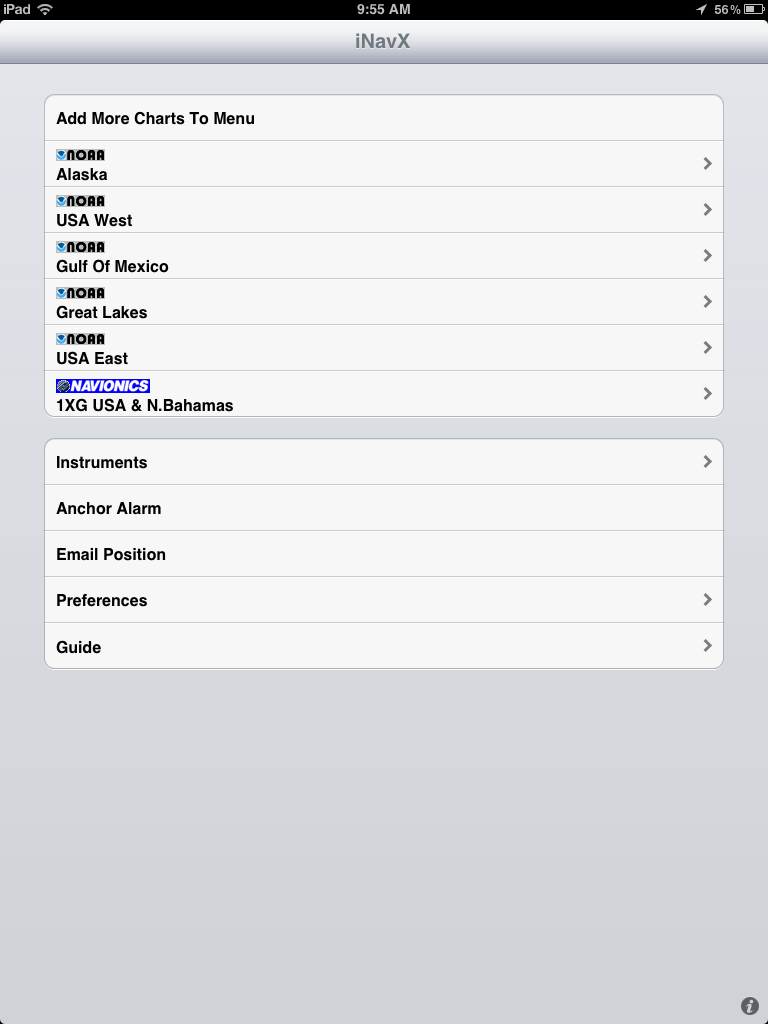
This is part two of a tutorial for the marine navigation app iNavX. I have owned the app for about a year and have explored most of its functions and features. Each new release seems to brings more features and added functionality.
In this post I want to cover the details and functionality of the Chart display interface and show how to create and edit Waypoints.
 Chart Interface:
The chart interface contains a series of banners and bars to facilitate navigation around the app. These are overlayed on the chart that you presently have selected for navigation. On the bottom of the screen you will find soft keys for Charts, Waypoints, Routes, Tracks, Instruments, Forecasts and Guide. On the top you will find a compass and instruments banner. Other navigation features on the screen are a + and - sign for zooming in and out of the displayed chart.
An icon in the middle right side of the screen has two blue arrows. This allows viewing of the chart in full screen. Tapping this will make the top menu banner and the bottom soft keys disappear, hit it again and they return.

On the top left side of the instrument banner you will also see a
small blue dot with a greater than sign. Tapping this allows you to either display or not display the compass and instrument banners. On the upper right side of the instrument banner is an
lower case i in a gray dot. Selecting this allows you to bring up the settings window for the instruments as shown in the image to the left.
In the instrument banner you can
swipe left and right with your finger to see additional instruments. Multi touch functions of pinching in and out will zoom the display in and out.
On the top right side of the gray chart banner you will see a
gear icon. Selecting this will take you to the chart display settings. Here you can modify viewing, position and color of many items on the chart display.
Settings for Icons, Velocity vectors, night vision, waypoints, routes and tracks can all be set.
The "Long Tap New Waypoint" feature can be turned on or off here also.
In the lower right side of the display there is another
lower case i, selecting this will give you information about the chart on display.
Here you can select the chart options for removal, updating, emailing, Tweeting, printing and opening the chart as a PDF file.
 Waypoints:
Waypoints are the building blocks of navigation and the routing function within the app. In iNavX there are several ways to create waypoints.
The first is to simply tap the chart once where you want to place a waypoint. A small window will then pop up with options of More Detail, Goto, Zoom In, Zoom Out and Maps. On the upper right corner of the window you will see a green waypoint maker icon. To place the waypoint at this location tap this icon. You will then notice that the waypoint will appear on the screen with a name like WP0001. If you want to move it simply tap the waypoint name on the screen until it highlights grey and then move it around to where you want it. Tapping it a second time will bring up a menu to go to the waypoint, add it to a route, edit it, zoom in and out or map it.
Another way to create a waypoint is the use the "Long Tap New Waypoint" function. This has to be enabled in the chart view setup by selecting the gear icon in the top right of the display. To use the function simply tap and hold for 2 seconds and a new waypoint appears on the chart.
This may seem like a lot of detail but it will become second nature when you start adding waypoints and building routes.
The third way to create a waypoint is to hit the
Waypoints soft key at the bottom of the display. The Waypoints screen includes Import/Export, Remove All Waypoints, New Waypoint and Port Search. On the bottom you will see a list of waypoints.
Import/Exports is a way to save or retrieve your waypoint and routes with your X-Traverse account. Your email and password for your X-Traverse account must be entered in the Account view under Preferences. You will need an internet connection to transfer the data to and from your account.
Remove all waypoints is pretty self explanatory. Selecting this will wipe out all your waypoints. Your are prompted again asking if you want to remove them, if so, select "Yes".
The New Waypoint selection will create a new waypoint near your present position. This new waypoint "pop up box" includes several options.
You can change the waypoint name by selecting the Name field and typing the new text. Actual latitude and longitude can be entered if you know the GPS coordinates. A short description can also be added. Hit the
Position button to use your current position. The
Lock button allows you to lock it from deletion until unlocked.
Show can be switched on or off to display the waypoint on the chart. The
Arrival button allows you to set the arrival distance setting. If this waypoint is used in a route and you are within the arrival distance the app will advance to the next waypoint in the route.
Scroll to shows the waypoint on the Chart view display. The
Camera icon in the upper right corner allows you to take a picture or use a picture from your devices camera roll and attach it to the waypoint.
Open in Maps will bring up the waypoint and allow you to view it in Google satellite, street maps or both. You will need an Internet connection to display the Google maps.
The
Goto Button, when selected, starts the navigation from your current position to the selected waypoint. iNavX shows a solid blue line on the chart display and shows the bearing, distance, crosstrack error and time to go in the instrument banner on the top.
Another great feature on the Waypoints page is
Port Search. Here you can search for a marinas, points of interest, resorts and navaids. Selecting the Position button on the top of the page will list all locations within 50 miles. This feature will only work with the Navionics charts. The NOAA charts will not have this data. The data base is local so no Internet connection is needed for the Port Search.
As you can see, iNavX has a very full featured chart display and waypoint functionality. They seem to have thought of everything. You can see why it is one of the most popular charting and navigation apps out there.
Next time I will cover routes and tracks. Stay tuned!
 Application: iPhone, iPad, iPod Touch